If a hard drive has been affected by some kind of physical damage, each subsequent operation performed on it can result in further degradation. In addition, such a drive may work unstable or contain multiple bad sectors that cannot be read normally, causing read hang every time and further damage the disk.
It is very likely that all of the above will result in the total rupture of the storage medium with very little chance of restoring the necessary information. In view of the above, it is vitally important to reduce the number of references to faulty storage and the time it takes to extract valuable Data Recovery.
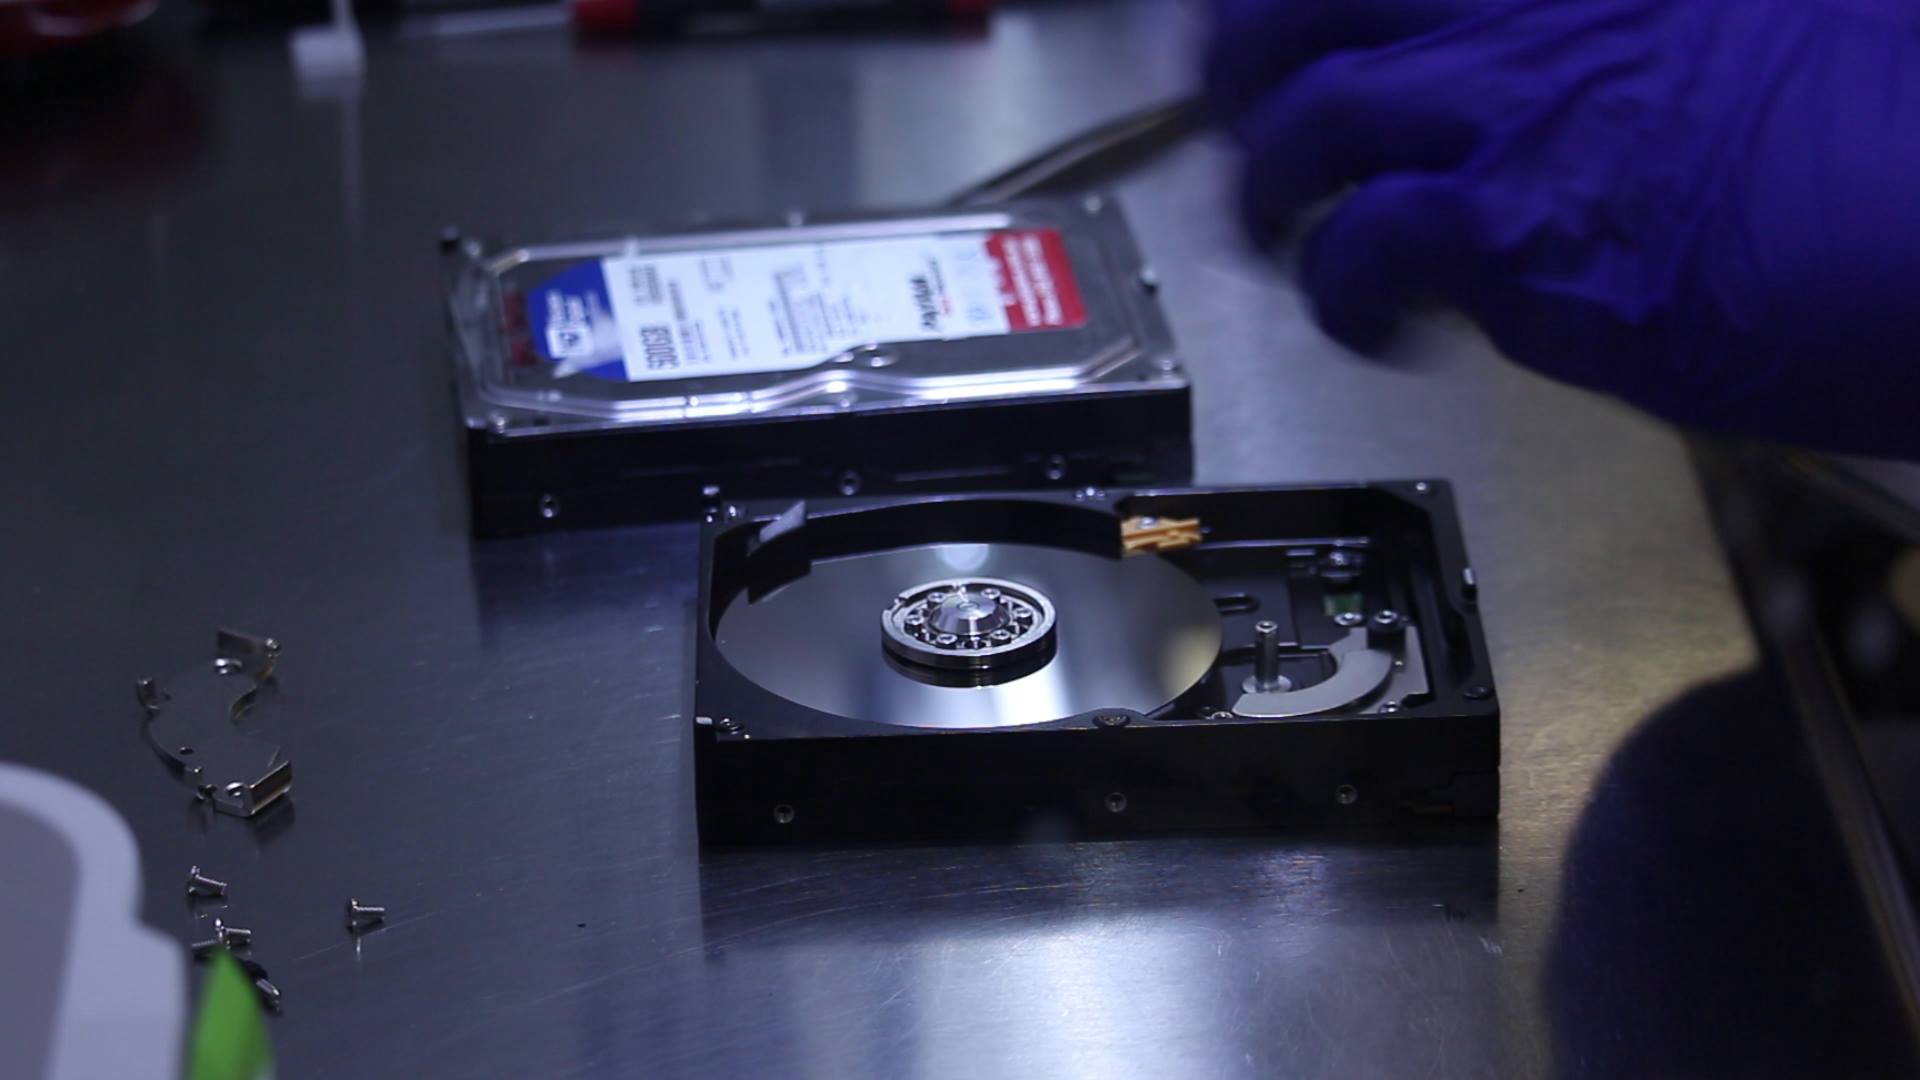
UFS Explorer helps minimize wear and tear on drives and make Data Recovery much less “intrusive.” In this guide, we explain how to process faulty saves in this software.
By default, the system performs disk polling, which checks whether the drive is ready for processing and searches for all partition tables, RAID metadata, and supported file systems. This operation gives no control over the connection timeout and can “hang” when encountering a bad block or series of defects.

Unlike restoring data from a normally working hard drive, when recovering data from a failed drive, it is vitally important to create a disk image. And what’s more, due to the peculiarities of such drives, the imaging procedure differs substantially from regular Twitter data transfer to another storage medium.
The “Save Disk Image” option will immediately take you to the disk image creation dialog, without giving you additional access to the storage, and it is recommended to opt for it, when you need to generate an image of the entire disk.
If possible, perform this procedure after a thorough analysis of the defect assignment, since the latter allows you to choose the most optimal configurations.